
Crafting Your Own Glass Masterpiece at the Corning Museum of Glass
Written By: Gail Clifford | Published By: Weekend Notes | September 11, 2024
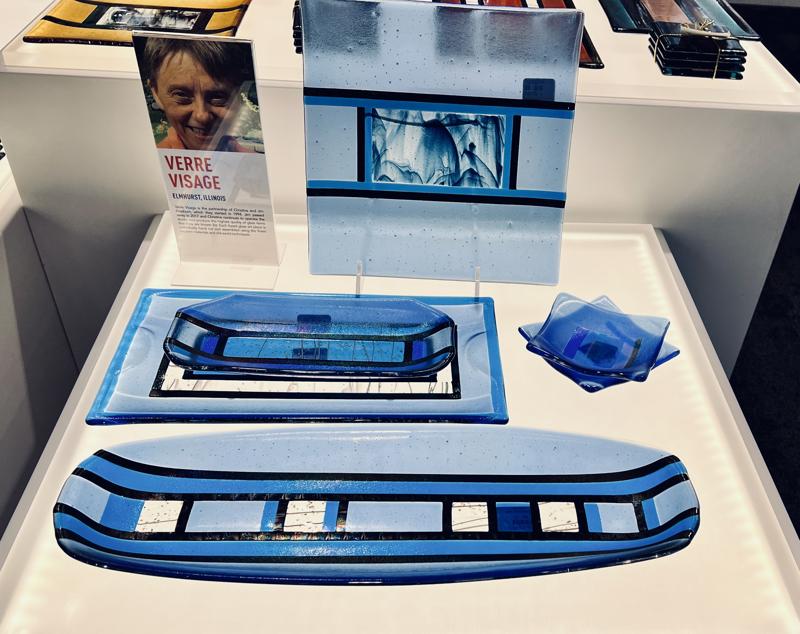
Ever dreamed of crafting a one-of-a-kind glass creation with your own hands? At the Corning Museum of Glass (CMOG), located just across the Brisco Bridge from Corning’s downtown, visitors are invited to step into the heat—literally—and experience the ancient art of glassblowing. Under the guidance of talented artists like Irene Szarek, you can create your very own glass pumpkin, ornament, or vase.
We were fortunate to be hosted by CMOG as part of the International Food, Wine & Travel Writers Association (IFWTWA) Annual Meeting, held this year in the beautiful Finger Lakes region of New York State. The hands-on glassblowing session was one of the highlights of the event, giving us an intimate look into the artistry and craftsmanship that goes into every piece.
For fans of the Netflix series Blown Away, you’ll be excited to know that CMOG is the location for the show, which is now in its fourth season. The museum provides the perfect backdrop for the intense and beautiful glass creations featured on the show—and you can try your hand at making your own, too!
The Process: From Molten Glass to Masterpiece
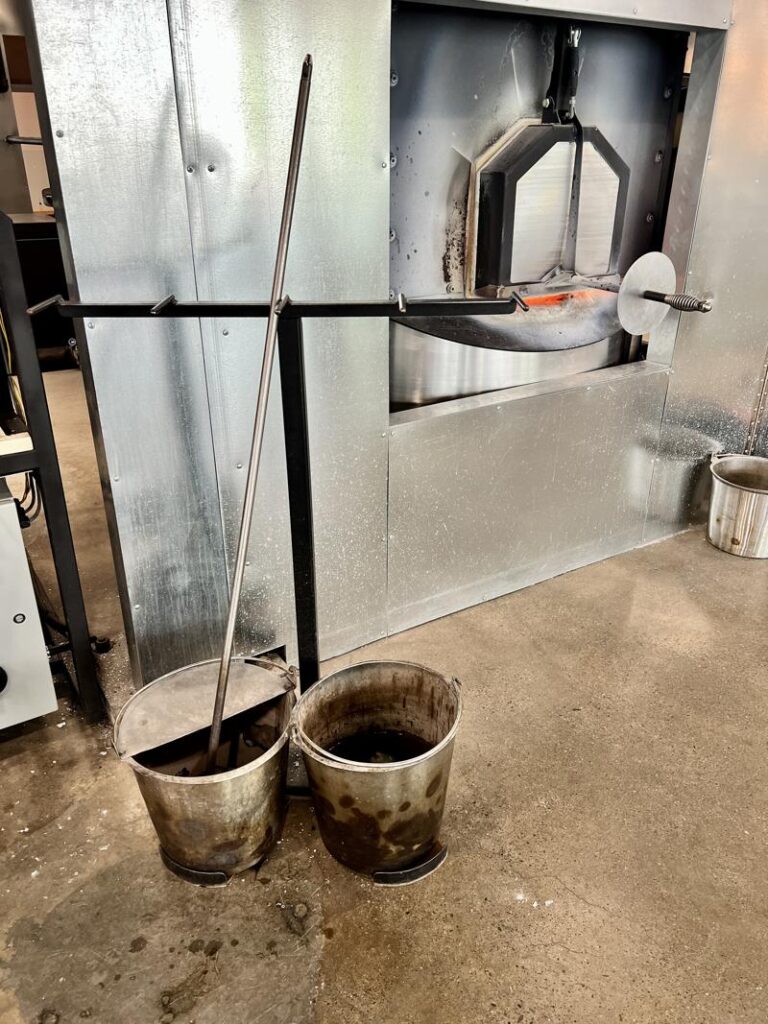
The experience begins with heating the glassblowing pipe in a pipe warmer, set to around 1,000°F. “The glass won’t stick to cold metal,” Irene explains. “So, we preheat the pipe’s end to make sure it’s ready to pick up the molten glass.” The process is simple yet mesmerizing, as the heated pipe is dipped into the furnace—at a staggering 2,000°F—where molten glass is gathered onto the end. “It takes a lot of practice to grab the right amount of glass,” she adds, as she deftly twirls the glowing, orange blob around the pipe.
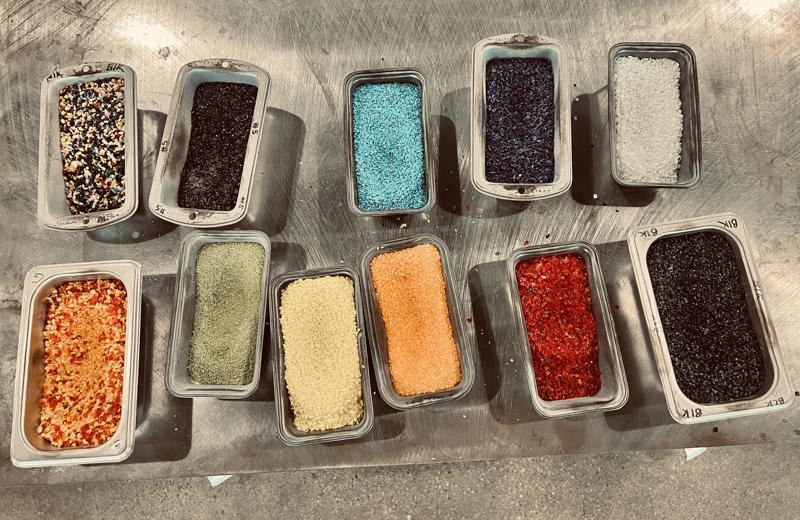
With the molten glass gathered, it’s time to pick your colors. At this point, you’ll bring the glass to a table where colored glass is waiting. “The trick is that the glass has to be hot for the color to stick,” Irene says. “If it cools too much, the color won’t adhere, so timing is everything!”
Once the colors are picked, the glass is reheated and smoothed. “I like to stop and show guests the difference between clean glass and what it looks like with the colors,” she continues. The glass is then dropped into an optic mold—this is where your pumpkin starts to take shape. The mold creates the star-shaped ridges that give the pumpkin its classic lines. After the bubble is blown inside the glass, Irene gives a gentle reminder, “Blow gently at first. If you start too strong, the glass will overflow and collapse!”
Gail Clifford
Latest posts by Gail Clifford (see all)
- We Were Warned: An Anthology of Short Stories - October 23, 2024
- Exploring Dublin’s Royal Canal: A Journey Through Time and Nature - September 30, 2024
- The 8 Best Dr. Phillips Restaurants | Dr. Phillips, West Orlando, Florida - September 19, 2024
- Discover Cascais, Portugal - September 18, 2024
- The Ultimate Expat Guide How to Buy Property in Costa Rica, Ireland and the USA With Less Stress - September 17, 2024
0 Comments